
Linux on the Nintendo DS
So you've heard of Linux on the Nintendo DS, and you've gone "Ooh Aaah! How did they do that?". Well now it's time to find out.
First you will need the following:
1. A Nintendo DS Lite.
2. An R4 card.
3. A Micro SD card.
=======================================================
Okay, now we need to actually download the dslinux.nds file. I've provided a pre-patched DLDI build on this site. That can be found here
To download the latest DLDI build go to the Official DS Linux builds page. and download the DLDI build. Note: You will need to patch the DLDI build yourself. I've already patched the build that I have linked above.
=======================================================
Setting up the R4 Card
There are a few steps to steps in setting up the R4 card so that you can drag and drop games. You need to set up specific directories
and make sure certain files are in the right place etc etc. So here's the basics on how to get you up and running.
1. Insert the CD that came with the R4 package into your DVD drive.
2. Slot the micro SD card into the USB adapter(that came with the package too), and plug the adapter into a free USB port.
3.Browse the directory on the CD. You need to copy the following directories and files:
_system_
_DS_MENU
_DS_MSH_.nds
Okay so what is _system_ and _DS_MENU and _DS_MSH_.nds?
_system_: This is the system folder(duh) that contains all the necessary files for the R4 card to bypass the authentication on the DS so that you can boot your .nds files. Copy this folder to the root of the SD card.
_DS_MENU: This is the menu system that the R4 card uses when you boot the R4 card in Slot 1. When you boot the R4 card for the first time, the R4 will create another _DS_MENU file, but don't worry about that. Copy this file to the root of the SD card too.
_DS_MSH_.nds: This file is a native .nds file. Notice it has the same file extension as dslinux.nds. This is an application called Moonshell. Moonshell is a homebrew multimedia player for the DS. Moonshell can support MP3's/OGG/MIDI etc. Copy this file to the root of the SD card as well.
Now that we have the root directory and R4 Menu copied to the SD card, we can copy the dslinux.nds to the card.
=======================================================
Copying the .nds file
Now here's what we have to do. This is where things start getting a little easier and a bit more fun. Remember the dslinux.nds file that I linked above? We're going to work with that now. So here's what to do:
1. Download the dslinux.nds file to somewhere handy(preferably your Desktop for the purpose of this tutorial).
2. Browse to the directory of the SD card and create a new folder called "DSLinux".
3. Go back to your Desktop and copy the dslinux.nds file to the "DSLinux" folder on the SD Card.
Right, now we have the .nds file on the SD. And now it can be booted. \o/
Running the dslinux.nds file
Ok I was lying. It can't be booted yet. You have to actually put everything together first. Here's what to do:
1. Take the SD card out of the USB adapter and insert it correctly into the R4 adapter.
2. Insert the R4 adapter into Slot 1 of the DS console.
3. Boot the DS as you would any other time you use it.
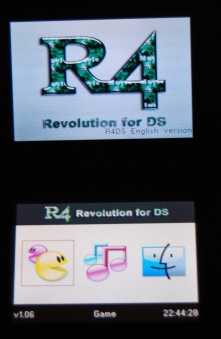
4. When the DS has finished booting you will be presented with a screen that looks like this:

5. Click on the Option on the left with the square around it. This is the "Games" option.
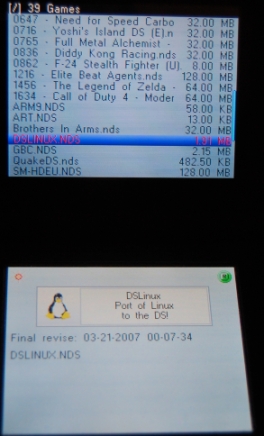
6. If, like me, you copy ROMS(read: backups) over to the R4 when you copy the Linux .nds file, you will probably have a big list of games. Scroll down to the DSLinux.nds file, and here's what you'll see:

7. Yup, told you it was fun. Now press 'A' on the DS and magical things will happen. Finally, the DS will boot the DSlinux.nds file.
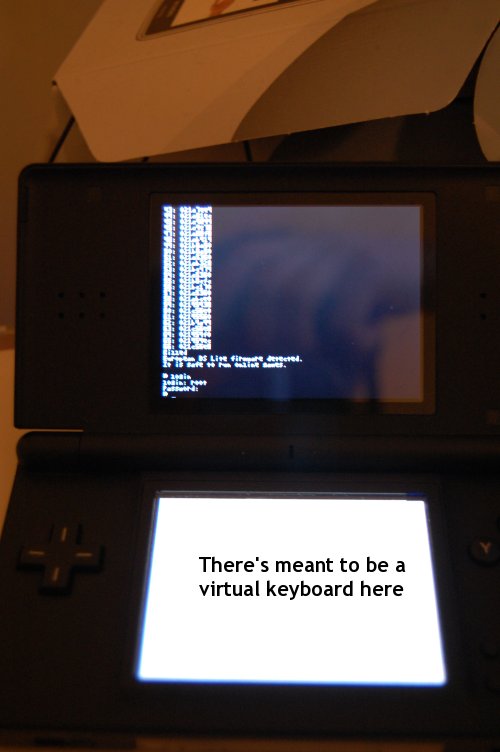
If everything went according to plan, you should see a screen like this:

Okay now that you have everything up and running you need to get this baby on the internet.
I'm working on the next article for wifi access as we speak.
Good luck with it,
Hauk